How to Create an Event Site Map: A Step-by-Step Guide for Event Planners

A great event starts long before the gates open. It starts with a solid site map. Whether you're organising a weekend market, a music festival, or a corporate expo, your event site map is the blueprint that keeps everything running smoothly. Without one, you're left guessing where vendors go, how foot traffic flows, and where critical infrastructure like power and water should be placed.
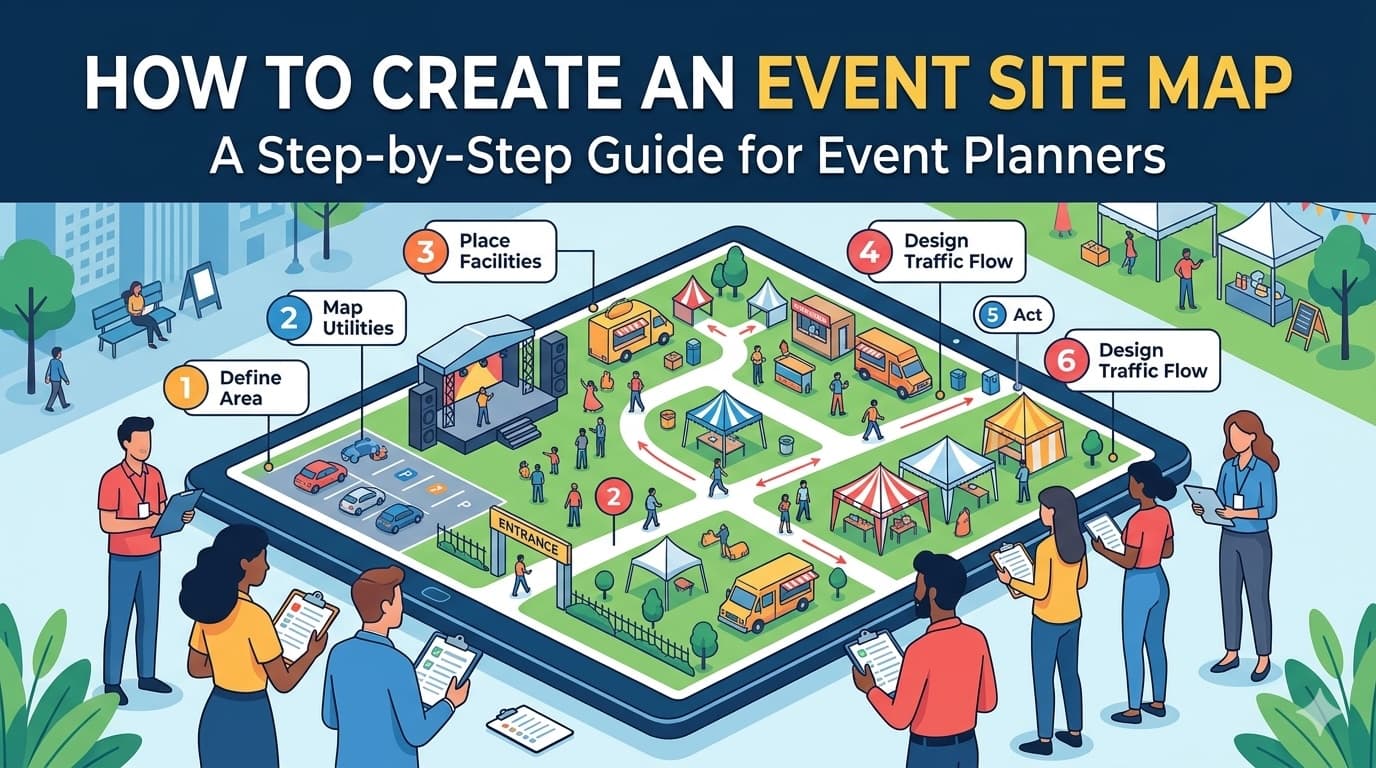
In this guide, we'll walk through how to create an event site map step by step, so you can plan with confidence and avoid the chaos of a poorly organised layout.
What Is an Event Site Map?
An event site map is a scaled visual representation of your event space. It shows where every element is positioned, from vendor stalls and stages to entrances, exits, bathrooms, and emergency access points. Think of it as the architectural plan for your event.
A good site map serves multiple purposes:
- Operational clarity: Your team knows exactly what goes where
- Vendor communication: Stallholders can see their allocated space before bump-in day
- Safety compliance: Emergency services and council authorities can review access and egress
- Stakeholder alignment: Sponsors, partners, and venue managers share the same picture
Step 1: Survey Your Venue
Before you draw a single line, you need to understand the space you're working with.
Gather Venue Details
- Dimensions: Get accurate measurements of the total area, including any irregularly shaped sections
- Fixed infrastructure: Note permanent structures like buildings, trees, poles, fences, and pathways
- Access points: Identify all entrances, exits, loading docks, and vehicle access routes
- Utilities: Locate power outlets, water connections, drainage, and lighting
Visit the Site
If possible, walk the venue in person. Photos and measurements from a desk can miss important details like uneven ground, blind spots, or areas that flood in wet weather. Take photos from multiple angles and note anything that could affect your layout.
Step 2: Define Your Event Zones
Once you know the space, break it down into functional zones. This keeps your layout organised and makes it easier to manage foot traffic and logistics.
Common Event Zones
- Vendor and stallholder area: The core commercial or exhibition space
- Stage and entertainment: Performance areas with line-of-sight considerations
- Food and beverage: Grouped together for convenience, with access to power and water
- Amenities: Toilets, first aid stations, information desks, and ATMs
- Entry and exit points: Including ticket booths, bag check, and accessibility entrances
- Back of house: Storage, staff areas, generator placement, and waste management
- Parking and transport: Drop-off zones, rideshare points, and accessible parking
Sketch out these zones roughly before you start placing individual vendors. Getting the macro layout right first prevents you from rearranging dozens of stalls later.
Step 3: Plan Vendor Placement
This is where the detail work begins. Vendor placement directly affects the attendee experience, vendor satisfaction, and event flow.
Key Principles for Vendor Placement
Maximise foot traffic distribution: Avoid clustering all the popular vendors in one area. Spread anchor stalls throughout the site to draw people across the entire event.
Group by category, with intention: Place similar vendors near each other when it benefits the attendee (like a dedicated food court), but avoid putting direct competitors side by side unless they're comfortable with it.
Consider power and utility needs: Vendors who need electricity for fridges, ovens, or sound equipment should be placed near power sources. Running long extension leads across walkways creates safety hazards.
Account for stall sizes: Not every vendor needs the same amount of space. A jewellery maker needs far less room than a food truck. Build variety into your site allocation plan.
Leave breathing room: Overcrowded layouts frustrate attendees and create bottlenecks. Ensure adequate walkway widths, a minimum of 3 metres for main thoroughfares and 2 metres for secondary paths.
Step 4: Address Safety and Compliance
No event site map is complete without safety planning. Local councils and emergency services will review your layout, so get this right from the start.
Safety Checklist
- Emergency vehicle access: At least one route wide enough for an ambulance or fire truck (typically 4 metres minimum)
- Fire extinguisher placement: Positioned at regular intervals, especially near food vendors and generators
- Emergency exits: Clearly marked and unobstructed, with multiple exit routes to avoid bottlenecks
- First aid station: Centrally located and easy to find
- Crowd density management: Calculate capacity for each zone and plan for peak times
- Accessibility: Wheelchair-accessible paths, viewing areas, and amenities throughout the site
Regulatory Requirements
Check with your local council or venue management for specific requirements. Many jurisdictions require a formal site plan as part of your event permit application. Getting your map right the first time avoids costly delays in the approval process.
Step 5: Map Utilities and Infrastructure
Behind every great event is a carefully planned infrastructure layer. Your site map should include:
- Power distribution: Generator locations, power board positions, and cable runs
- Water supply: Taps, hose connections, and drainage points
- Lighting: Temporary lighting for evening events, especially along walkways and exits
- Signage: Wayfinding signs, sponsor branding locations, and emergency signage
- Waste management: Bin stations, recycling points, and waste collection access
Mark these on a separate layer or in a different colour so they don't clutter your main vendor layout but remain easy to reference.
Step 6: Choose the Right Tool
How you create your site map matters. The right tool saves hours of work and makes updates painless when things inevitably change.
Common Approaches
Pen and paper: Quick for initial brainstorming, but impossible to share digitally, difficult to update, and not to scale.
Spreadsheets: Some planners use grid-based spreadsheets to map stall positions. Functional but limited, with no visual representation and prone to errors.
Generic design tools: Software like PowerPoint or Canva can produce visual maps, but they aren't built for event planning. You'll spend more time formatting than planning.
Dedicated event planning software: Purpose-built tools like Allocatr are designed specifically for site allocation and market mapping. They let you visually place vendors on a scaled site map, manage stallholder details, and share plans instantly, all without wrestling with generic design software.
The advantage of a dedicated tool is that your site map is connected to your vendor data. When you move a stall, the associated vendor information moves with it. When you export a PDF for council approval, it's already formatted and professional.
Step 7: Review, Share, and Iterate
Your first draft won't be your final version. Site maps evolve as vendors confirm, requirements change, and new constraints emerge.
Review Process
- Internal review: Walk through the map with your team. Look for bottlenecks, dead zones, and logistical issues
- Vendor feedback: Share the map with key vendors early. They'll spot practical issues you might miss, like a coffee van that needs rear access for its gas bottles
- Authority approval: Submit to council or venue management for sign-off. Allow time for revisions
- Final distribution: Once approved, share the final version with all stakeholders well before event day
Tips for Effective Sharing
- Use a digital format that stakeholders can view on any device
- Include a legend explaining symbols, colours, and zone labels
- Add stall numbers or codes so vendors can quickly find their position
- Consider a public-facing version that attendees can use as a wayfinding guide
Common Site Map Mistakes to Avoid
Even experienced event planners fall into these traps:
- Not planning for weather: Outdoor events need contingency layouts for rain, wind, or extreme heat
- Ignoring load-in logistics: Your setup-day layout needs vehicle access that might be blocked once the event is live
- Forgetting about queues: Popular vendors will attract lines. Plan space for queuing that doesn't block walkways
- Underestimating power needs: Calculate total power draw before finalising generator placement and capacity
- Skipping the walk-through: Always do a physical walk-through of your mapped layout on site before event day
- Last-minute changes without updating the map: If something moves, update the map and re-share it. An outdated map is worse than no map
Bringing It All Together
Creating an event site map is one of the most impactful things you can do as an event planner. It transforms a blank space into an organised, safe, and enjoyable experience for everyone involved, from your setup crew to the last attendee walking through the gate.
Start with the venue, define your zones, place your vendors thoughtfully, plan for safety and infrastructure, and use a tool that makes the process efficient rather than painful. Then review, refine, and share.
The best site maps aren't just documents. They're living plans that evolve with your event. And when your bump-in day runs smoothly because every vendor knows exactly where to go, you'll be glad you invested the time to get it right.